

Do-It-Yourselfers – You Can Install Fluorescent Light Covers
23rd Apr 2020
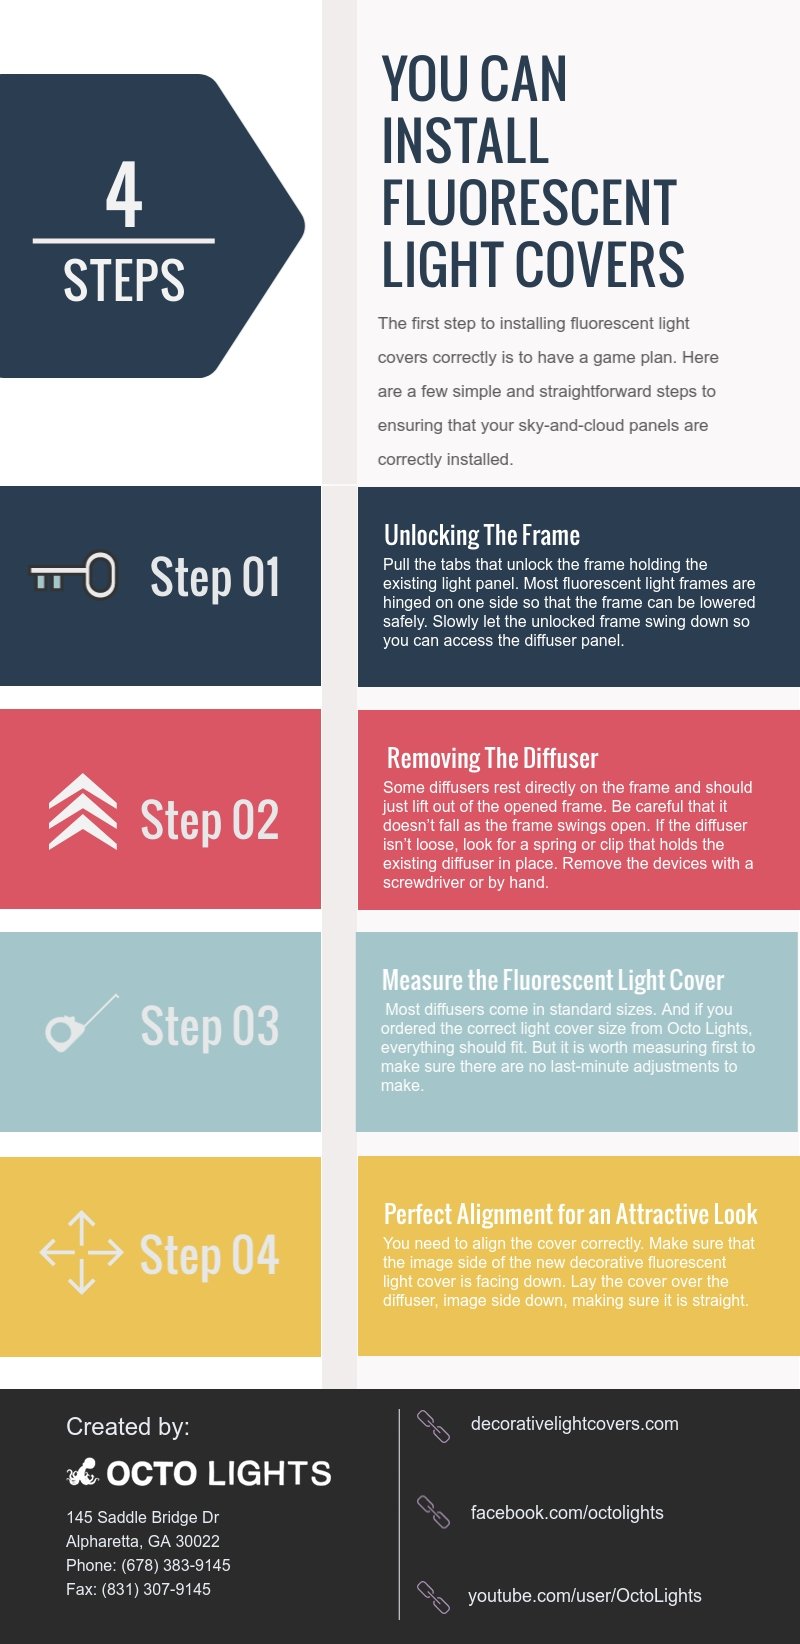
To install fluorescent light covers, you don’t need a degree in engineering. In fact, you may not even need any tools. Working on a lighting fixture usually requires a professional to do the work right. But there are some instances where homeowners and business owners can get the job done correctly by themselves. The first step to installing fluorescent light covers correctly is to have a game plan. Here are a few simple and straightforward steps to ensuring that your sky-and-cloud panels are correctly installed.
1. Unlocking The Frame
Start by turning off all the lights you plan to work. Using a stepladder, inspect the fluorescent light frame, looking for small metal tabs that hold the frame in place. Some tabs can be moved by hand, but some may need a screwdriver. Pull the tabs that unlock the frame holding the existing light panel. Most fluorescent light frames are hinged on one side so that the frame can be lowered safely. Slowly let the unlocked frame swing down so you can access the diffuser panel. Up to this point, this is the same procedure as replacing a burned-out light bulb.
2. Removing The Diffuser
Note that not all diffusers have a holding device installed, and some just rest directly on the frame. In that case, the diffuser should just lift out of the opened frame. Be careful that it doesn’t fall as the frame swings open. If the diffuser isn’t loose, look for a spring or clip that holds the existing diffuser in place. Remove the devices with a screwdriver or by hand.
As a note of caution, old diffusers tend to become brittle after years of use. Because of this, they can sometimes break and may have sharp edges that can cause injury. Exercise extreme caution when doing this type of work.
3. Measure the Fluorescent Light Cover
The next step is to carefully measure the diffuser you just removed. Then measure the light cover to make sure it matches. Most diffusers come in standard sizes. And if you ordered the correct light cover size from Octo Lights, everything should fit. But it is worth measuring first to make sure there are no last-minute adjustments to make.
Fluorescent light covers come in more styles, colors, and designs than ever before. So take the time to choose carefully. You can select the perfect look or style to fit your needs. If you want something you don’t see on our website, you can upload an image for a custom fluorescent light cover.
4. Perfect Alignment for an Attractive Look
To get the best look when you install fluorescent light covers, you need to align the cover correctly. Make sure that the image side of the new decorative fluorescent light cover is facing down. Lay the cover over the diffuser, image side down, making sure it is straight.
Finally, reverse the process to replace the frame. Put back in place any springs or tabs that held the diffuser in place. Make sure that any tabs go on top of the light cover. With the diffuser in place, swing the frame back into its original position and tighten the tabs or screw. Turn on your fluorescent lighting to enjoy a new and attractive look that is sure to be admired by everyone. Contact Octo Lights today for the best in decorative light fixture covers.